How to Remove a Toilet (in 5 Quick & Easy Steps)
When you need to replace an old toilet, nothing is less appealing than disconnecting the old toilet. While toilet removal is a messy prospect, it’s not exactly easy to do, but not difficult either.
Consider this undesirable task a learning experience since removing a toilet is just the reverse of installing a new one. The toilet removal gives you practice for installing your new bathroom fixture.
 Getting prepared before removing the old toilet makes the job quicker with only minimal mess.
Since a toilet is water filled and a wax ring seals it to the plumbing, there’s a potential for mess.
Don’t worry about exposure to the toilet’s water. Toilet tank water is clean, and the toilet bowl water gets flushed out before beginning. However, be careful about the water coming out of the trap way when removing the toilet.
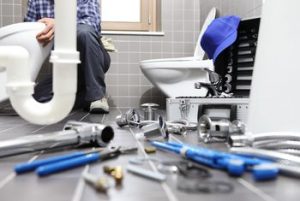
There are a few common tools you’ll need for this project. While you may not need all of these tools, it’s best starting out prepared.
Start by clearing the floor around the toilet and laying out your tools within easy reach. Place the blanket, towels, or newspaper to the side for laying out the parts as you disassemble the toilet.
 The first step before starting any work on the old toilet is shutting off the water supply to the toilet.
Most toilets have a water shutoff valve on the wall or at the floor below the toilet tank.
Once you have the water shut off, you must drain the toilet properly to avoid a huge mess and a lot of aggravation. If the water shut off valve is old, this is a good time to replace it as well.
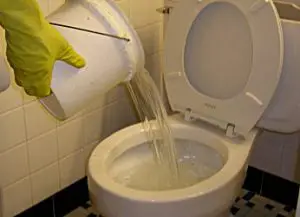
To drain the old toilet, put on a pair of rubber gloves and follow these steps.
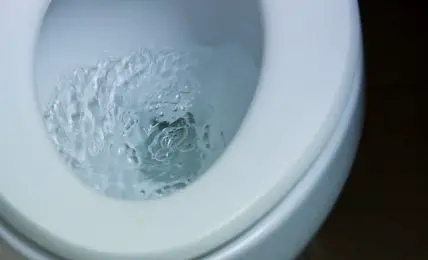
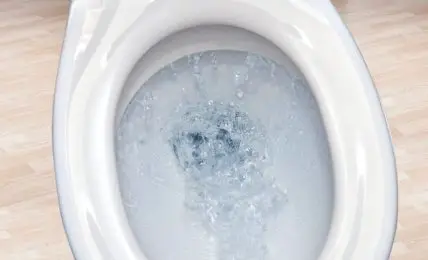
After turning off the water supply, flush the toilet to drain most of the water from the toilet tank. Flushing also drains most of the water from the toilet bowl. Continue holding the flush handle down until the water no longer drains out.
After flushing, you should still have some water in the toilet tank and bowl. You want to make sure all the water drains from the tank.
Finish draining the tank, by using the pliers or wrench to loosen the nut holding the fill valve in place. This nut mounts to the water inlet valve’s tailpiece located at the bottom left side of the tank.
Place a small bucket or pail underneath the valve connection to catch the water and remove the nut completely. You can remove any water left in the tank with a large sponge or rags.
Completely remove the water supply line from the tank. Check the toilet bowl and tank once more to make sure you have all the water removed.
With a plunger, force any remaining toilet bowl water out. Remove as much bowl water as possible and ladle any remaining water into the bucket or soak up with rags.
 The next step in the removal process is unbolting and lifting the toilet from the toilet flange.
At this point, you may run into some potential issues—corroded or frozen bolts and striped tee bolts.
Lifting the toilet might be another problem you face. While one person can lift the toilet, if you aren’t familiar with removal you may need help.
The most common problem with removing toilet bolts is frozen tee bolts that spin but never loosen. Problems with removing tee bolts come from the tee bolt design.
Normally, a toilet flange doesn’t keep the tee bolt seated. The pressure against the flange lets you tighten the tee bolt which causes the problems when trying to loosen them.
Start by using the adjustable wrench to loosen the nuts. If the nuts start turning, you won’t have many problems loosening the tee bolts.
When the pressure releases, using the screwdriver, press up on the nut underneath the washer and remove the nut. Repeat this process for the nut on the other side of the toilet tank.
Corroded, stripped, or frozen nuts makes removal a bit more difficult. A corroded tee bolt just twists and may break when turning the nut.
If you have a corroded bolt, continue turning it until the bolt breaks, if possible.
 If you have a stripped or spinning tee bolt, you’ll need the mini hacksaw. Working at the nut base, saw through the tee bolt.
Sawing from the nut base prevents damage to the toilet. Saw off both bolts then remove the nuts and washers. Once you remove the toilet you can remove the rest of the tee bolt.
If you have an older toilet, chances are the tee bolts needs to be replaced. Keep tee bolts in the original package until you know they need to be replaced. Most hardware stores take returns for unopened packages.
Once you remove the tank bolts, lift the tank from the toilet base. Remove the tank from the bathroom or set on the 2” x 4” boards to keep it from scratching your floor. You can also place trash bags under thick cardboard to set the old toilet on.
Locate the toilet base bolts and pry the trim caps off with your flat head screwdriver or scraper.
 With the adjustable wrench, remove the nuts from the floor bolts. If the nuts won’t turn, spray them with penetrating oil like WD40.
If the floor bolts are corroded and won’t turn, use a hacksaw or nut splitter to remove the bolts.
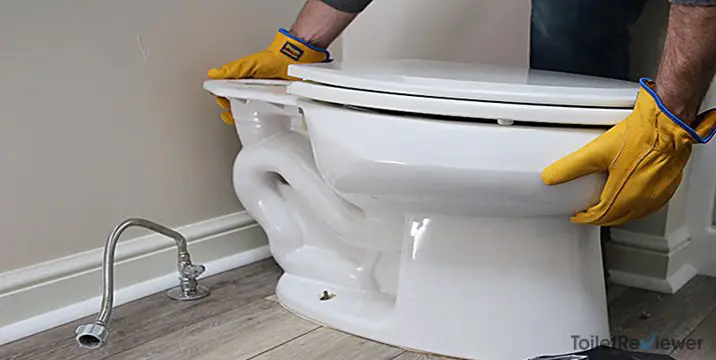
Stand over the toilet and with gentle movement, rock it from side to side until you break the wax ring seal. Lift the toilet bowl straight up to avoid splashing any water left in the trap way. Place the toilet on the boards with the tank.
Using a putty knife or scraper, remove the wax ring that holds the toilet to the floor. Make sure you clean the floor of all residue.
With a disinfecting cleaning solution, clean the flange and area around it.
QUICK TIP
To keep sewer gases from entering the home through the sewer pipe, place a towel over the hole. Turn a bucket upside down over the rag while prepping the new toilet for installation.
Removing an old toilet, while it isn’t a difficult task, it is a messy and time-consuming one. To make the job easier, have everything you know you need and what you might need ready and within reach.
Once you have the old equipment completely gone and the area cleaned, you’re ready for a new toilet.
However, remember that your new toilet might have a different outline than your old toilet. Taking measurements of your old toilet and the new toilet before buying is the best preventative to a headache installation.