Why Does My Toilet Flush Twice? [Quick & Easy Repair]
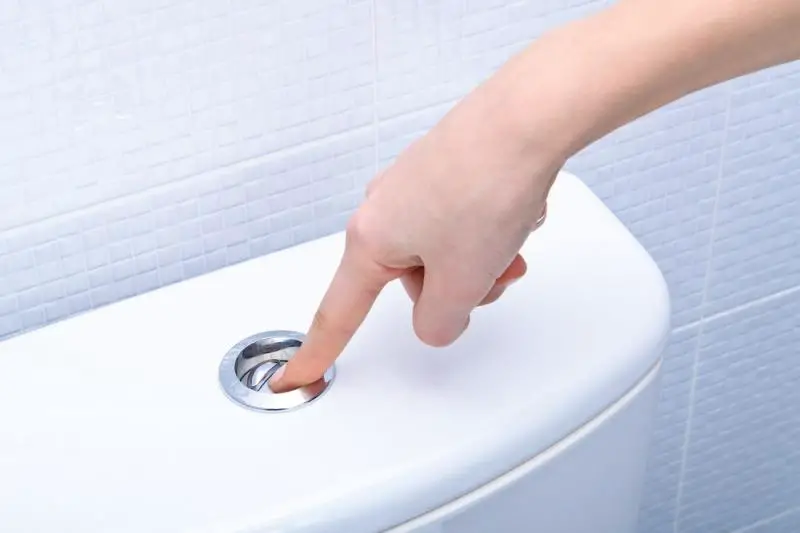
It’s a common problem in many households. You have just flushed your toilet, and instead of hearing a single flush, you hear two. What just happened, after all, you only pressed the flush lever once?
The reason is that your toilet tank is releasing too much water into the bowl. As soon as your toilet finishes one flush, it is getting enough water to start the process again
Your toilet is driven by the action of water flowing over a bend in the pipe drawn down by gravity. Then the water seals against air from below, creating suction drawing more water from your bowl.
Because this relies on the water in the bowl to fill the pipe, it stops when it runs low. This creates the gurgling sound at the end of the flush when the air begins to break up the seal.
But when your toilet flushes a second time, it means that the bowl continued to receive water after the flush ended. Once it received enough water quickly enough, it caused the toilet to flush a second time.
Your toilet flapper is responsible for releasing the water from the tank into your bowl every time you press the flush lever. But, if it doesn’t correctly sink back down after every flush, it will continue to release water causing another flush.
Common causes of this are flappers that are too light, hard water buildup, and inappropriately set flapper chains.
Hard water buildup can create a layer of gunk on the bottom of your toilet. This sometimes happens between the flapper and seal or the flapper’s hinge. The buildup can stop the flapper from lowering or creating a seal. To solve this, follow these instructions.
Drain your toilet tank. Turn the shutoff valve behind the toilet clockwise until it stops. Then, flush the toilet until the tank is nearly empty.
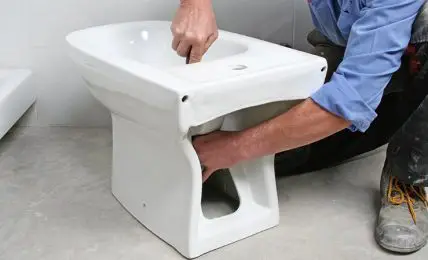
Remove the flapper. The flapper mounts to the overflow tube generally by hinging on small protrusions. Remove the flapper from the overflow tube.
Clean the flapper and hinges. Use a sponge and some distilled vinegar and gently wipe both the hinges of the overflow tube and the flapper down thoroughly.
Wipe the seal. Before reinstalling the flapper, gently wipe the seal where the flapper rests with the sponge and vinegar.
Reinstall the flapper. Reinstall the flapper making sure it rests against the seal, and the hinges are correctly installed against the overflow tube.
If the flapper is too light, it needs to be replaced. If your flapper has been replaced with a universal model at some point, this is the most likely cause of your problem. To test, simply flush your toilet while watching. See if the flapper comes back up after lowering or if it does not come back down for too long.
If your toilet chain is improperly set or getting a kink in it, this may be causing your flapper to improperly seal. This needs to be solved by modifying your chain. Follow these steps.
If the water level is too high in your tank, this will drain too much water into your toilet bowl. This can cause it to flush twice. To solve this, you need to adjust your float valve.
Float Ball: To adjust these, you need to determine if you have an adjustment screw. If so, use this to lower the float, thus reducing the water refill level. If not, it may use a brass arm, in which case you would gently take and bend it to lower the float.
Float Cup: These generally have a clip you can depress to adjust the float up and down. Lower it to adjust the water level down. Some models of these have an adjustment screw as well, if this is the case just use it to lower.
If the fill valve is not working correctly, it may allow too much water into the toilet bowl. This could cause the toilet to flush twice. You can adjust this valve to solve the problem.
You can adjust the fill valve by removing the screw from the fill valve and moving the float arm lower. Next, replace the screw. Then, flush the toilet to see if the solution worked.
You may need to try a few times. If it still doesn’t work. You may need to replace the fill valve.
If your toilet flushes twice, it may be necessary to replace the fill valve. To do so, follow these steps:
To remove the fill valve, follow these steps.
Now that you have removed the fill valve, you need to install a new one.
Hopefully, you now have clear vents, a toilet without cracks, and a home that smells fresh. However, if none of these procedures worked for you, it may be necessary to call a plumber.