How To Install A Toilet Flange On Tile
To make sure that your toilet is anchored properly and securely, you should always use a closet flange. The flange will connect the waste pipe to the underside of the toilet bowl, allowing the two pieces to be securely anchored together and prevent gas from leaking.
When installing a toilet flange over tile, the installation process varies a bit from installing a flange over other bathroom floorings. Installing a toilet flange on tile really isn’t much more difficult, though. All you need to do is use a carbide or diamond drill to bore into the tile and create an anchor for the flange.
Of course, installing a toilet flange is a bit more complicated than that. To find out exactly how to install a toilet flange on tile, read on. In this article, we also answer frequently asked questions to make sure that you have all the information needed to install a toilet flange on tile.
Installing a toilet flange over tile can be difficult if you are not familiar with the cutting techniques or materials. However, the process should be easier if you are somewhat familiar with cutting tile and working with indoor plumbing. Here are the steps for how to install a toilet flange on tile:
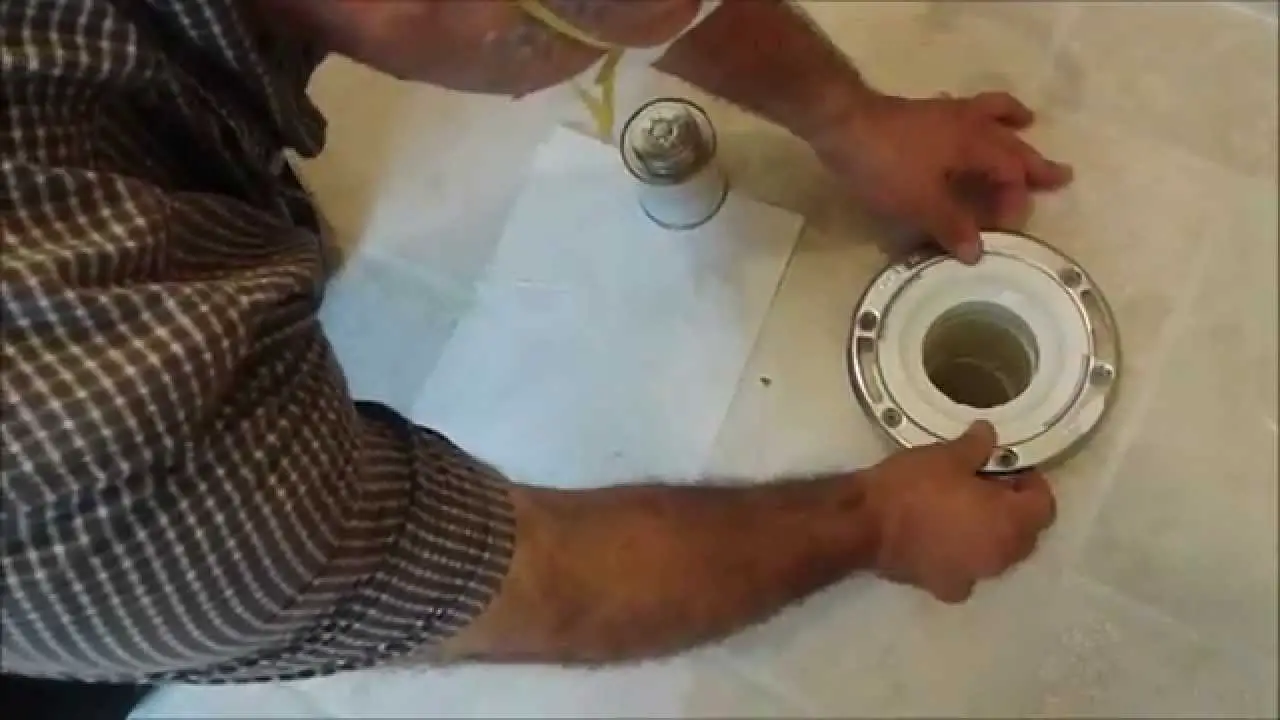
Begin by setting the toilet flange into position over the tile. The back holes of the flange should be parallel to the wall, while the two slots should be parallel to the walls on each side of the toilet.

With the flange in place, you should find and mark where you plan to drill. Most flanges include four to six holes around the lip’s perimeter.
You will want to drill holes for at least four of the holes and aim so that the holes evenly cover the entire perimeter of the flange. Anchor the flange to the ground using these holes, so make sure that they surround the flange.
Before cutting into the tile, you will want to prepare the carbide or diamond drill. Prepare the drill by dipping it into a bottle of cooling oil. This cooling oil will prevent the drill from getting too hot as it cuts through the tile.
As you are cutting, you may notice that the drill bit becomes red or has smoke coming from it. When this happens, dip the drill into the cooling oil again. Repeat as needed.
In addition, you will want to place the drill onto one of the marked areas and twist the drill back and forth a couple of times. Doing this will help the drill bite into the surface of the tile, especially if the floor is covered with glazed or polished tiles.
Once you have allowed the drill to bite into the surface a bit, you can start boring the tile. Begin by boring the drill straight down at a low speed.
After the drill has gone through the tile, increase the drill’s speed as it bores through the backboard and into the subfloor. Repeat this process for every designated hole mark.
After all of the holes have been bored, it is time to install the screws. These screws will provide a secure anchor for the flange.
To install screws, change out the drill bit for a screwdriver attachment. Then, sink the screws through the tiles and into the subfloor. Finally, anchor the flange to the floor using these screws. Once the screws are installed, you have successfully installed a flange on tile flooring!
What do you do once the flange is screwed down?
Once the toilet flange is screwed down, the rest of the process is pretty easy. After the toilet flange is installed, you need to put the wax ring and bolts in place. These items will help to seal the flange and anchor the toilet to the flange.
Next, begin to lower the toilet into place. Make sure to align the holes on the toilet to the closet flange bolts. Lower the toilet down until the bowl sits on top of the wax ring. Compress the toilet against the wax ring to ensure that it is watertight.
Finally, add plastic washers, metal washers, and nuts (in that order) to the closet flange bolts. Tighten the nuts with a wrench, but don’t overtighten them because that can cause the toilet base to crack.
You are done!
For the most part, installing a toilet flange on any floor surface is the same. The difference between installing the flange on tile is the cutting technique. The reason for this is that tile sits higher than other floor materials and it is more difficult to cut through.
Here’s how you install a toilet flange on flooring other than tile:
Most professionals recommend installing your toilet flange above the ground because this technique prevents leakage and minimizes gas release.
With that being said, there is another technique that places the flange flush with the floor. Overall, the steps for installation are the same as the previous instructions, but there is one big difference.
The main difference when installing a flange flush with the floor is that the flange is installed before the bathroom floor is finished. For example, most bathroom floors are made from tile.
When installing a flange flush with the ground, you would install the flange before tiling the bathroom floor. Doing so allows for the flange to be perfectly flush with the finished tile.
Although some people swear by this technique, most professionals recommend against it. The reason for this is that the wax ring is further away from the toilet, which makes the toilet more prone to leakage and can cost you more money over time.