Tightening A Toilet Seat With Hidden Fixings [Step by Step Guide]
Nobody likes to go for a ride when they sit on a toilet. When a toilet seat becomes loose over time fixing the problem can be frustrating when your toilet has hidden hinge bolts.
The good news is that modern toilets are designed to be worked on, so you can follow these steps and easily repair the issue.
In this guide, you’ll learn how to tighten a toilet seat with hidden fixings in under 15 minutes.
You do not need any specialty tools to fix a loose seat. In fact, if you are an average DIYer you likely already have all the tools handy.
It should go without saying, but the first step in any project is to clean the area where you are going to work. Especially when working on toilets and other fixtures that often accumulate a lot of grime.
A splash of bleach in the bowl can help keep peace of mind and cleanliness. Use small buckets to hold parts, you do not want to have to fish out a bolt from the bottom of the bowl.
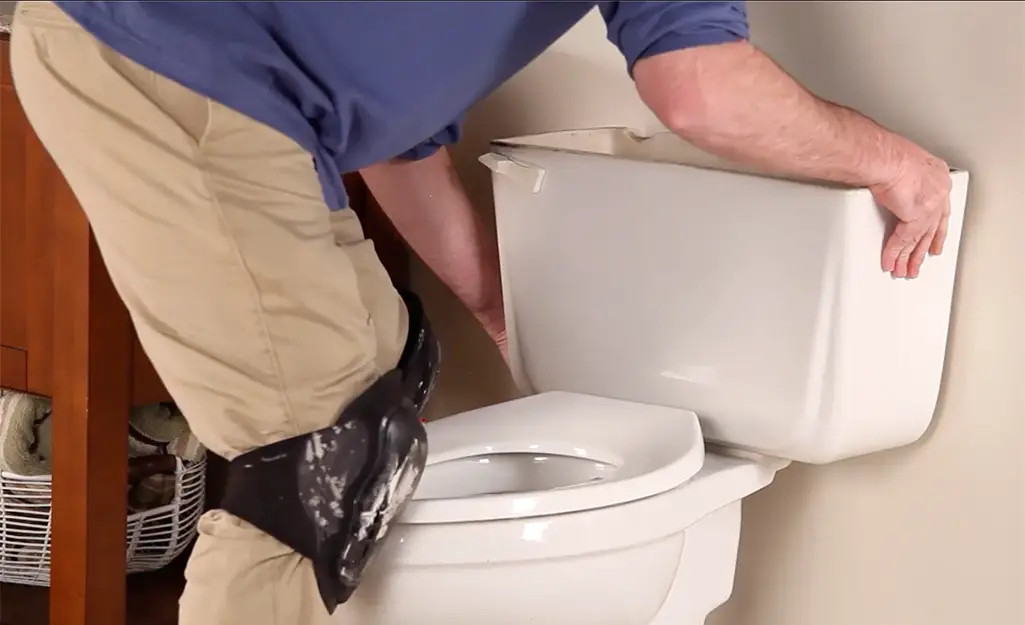
Any time you work on a toilet, it is a good idea to tape the seat to the lid. That way you never have to worry about them separating and smashing your fingers. It is also a good idea to temporarily tape the seat and lid to the tank.
If you want to make sure not to harm any part of your toilet’s finish, tape cardboard to the back of the lid. That way when you lift the lid off the toilet you can set it on the floor without worrying about scratches.
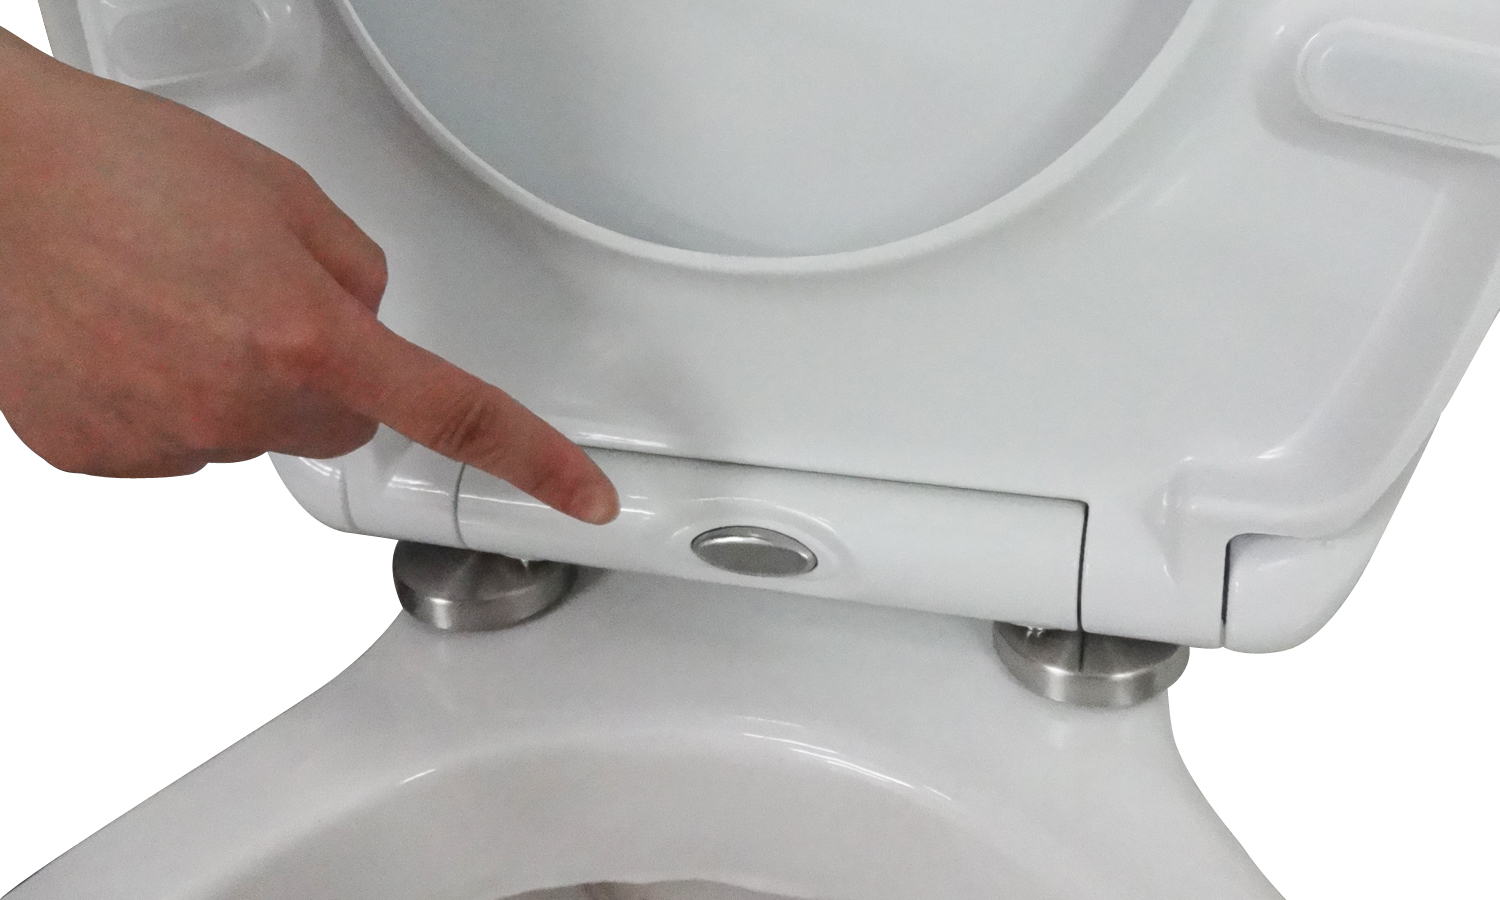
There are many different designs when it comes to toilets and toilet lids. Despite their differences, they all have some way of removing the lid and seat assembly.
Oftentimes it is a button you hold while gently lifting the seat off. Other times it is a locking slide, and rarely it is a set of bolts that hold the seat in place.
If it is a set of bolts you may need to spray the wd40 or other rust penetration oil on the bolts before loosening them.
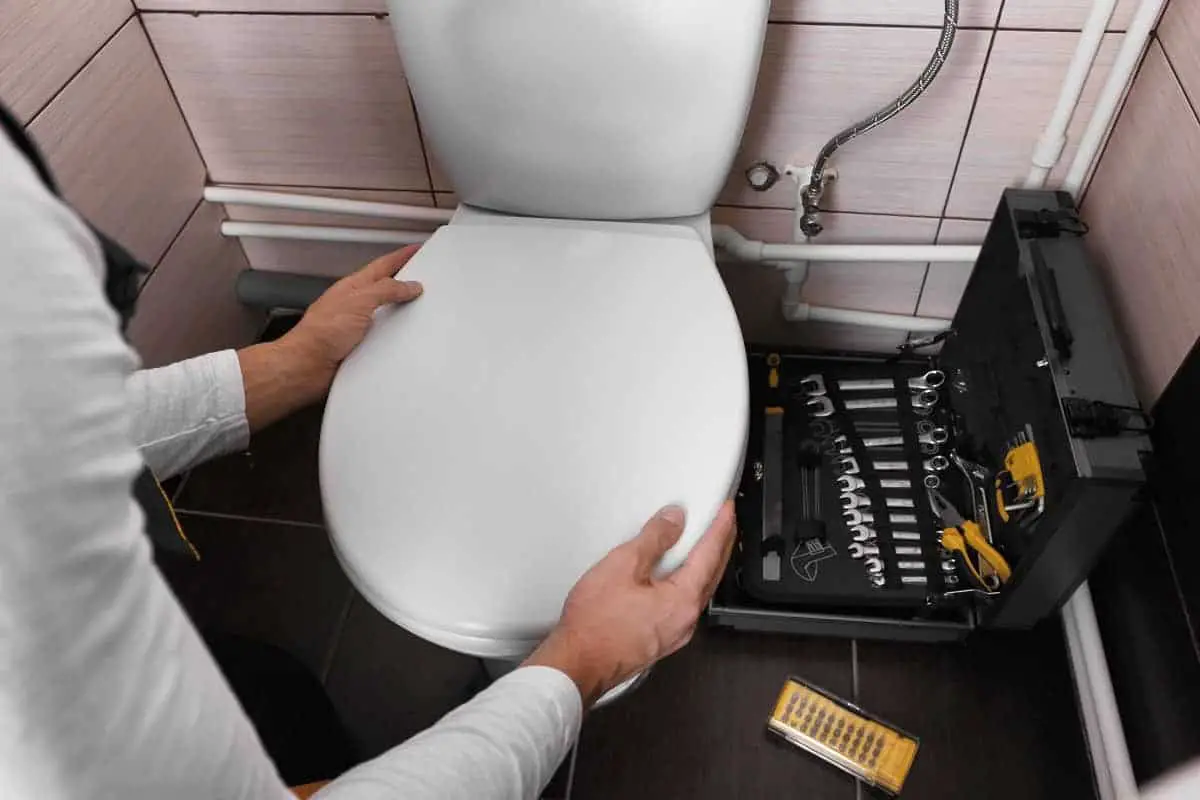
Once the lid and seat are removed from the toilet take the opportunity to check the condition of the hinges. You may find that you need to replace the hinges themselves if there is excessive movement despite the bolts being tight.

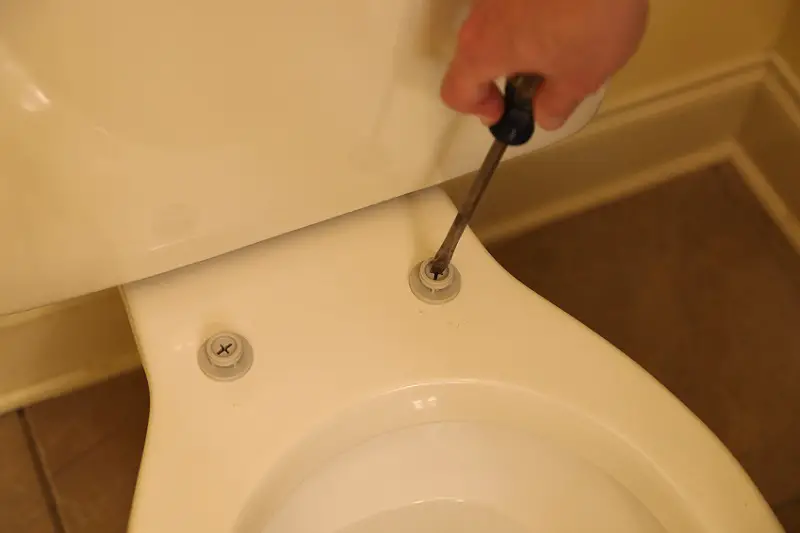
With the seat and lid out of the way, the hinges are exposed. There may be additional covers over the bolts.
Gently prying on these covers with a flat screwdriver should remove them, simply look for a seam that you can fit the head of the screwdriver into and then twist the screwdriver.
The bolt type varies by manufacturer, so choose the tool most appropriate for the head. Check underneath the toilet to see if the nut is exposed so you can hold it while tightening the bolt.
If the nut or stop is not exposed, you will have to pull up on the hinge as you tighten the hinge bolt. That will seat the stop and prevent the bolt from turning without tightening.
WD40 or other rust penetration oil can be helpful if the bolts are stiff or corroded. Be sure to wipe up any excess.
After the hinge bolts are tight, re-attach any covers and re-attach the seat and lid to the base and remove any tape.
Sometimes the bolts will be corroded or broken and must be replaced. If the nuts are exposed, you can try breaking them loose with sufficient leverage. Be careful not to slip and damage the porcelain.
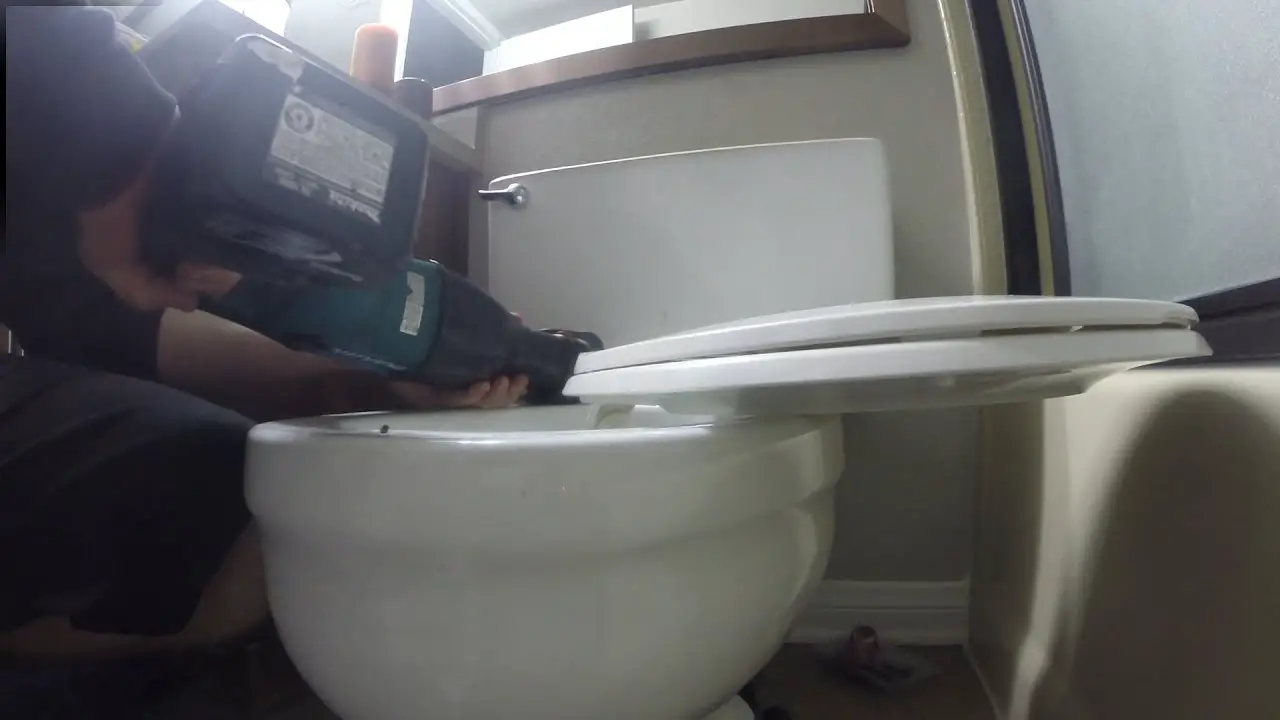
If the nuts are hidden inside the toilet itself, you will need to cut them off. To do that you will need a few additional tools.
Make sure to lay down layers of tape or cardboard wherever the saw blade may come in contact with the surfaces of the toilet. It is very difficult to hold a saw steady enough to avoid touching the surface at some point.
Wrapping tape around the hinges themselves can also help keep them clean and free of scratches. If space allows it wedging a piece of cardboard underneath the hinge to better expose the bolt can give you an advantage.
Using the pliers hold the head of the bolt to keep it from spinning as you cut. If you are using a powered saw it’s a good idea to have another person hold the bolt so you can use both hands to hold the power tool.
An angle grinder with a metal cut off wheel will make short work of the bolt, but it will destroy the porcelain if you accidentally touch the spinning disk to the surface.
A reciprocating saw may take a little longer and be harder to control, but the risk of damaging the toilet itself is lower. Ultimately it will probably come down to which tools you own.
If you are using a hand saw it is much easier to hold the bolt and saw by yourself. Remember to use long, even strokes, and take advantage of as much of the saw blade as possible.
The process shouldn’t take too long, just try to keep the saw perpendicular to the bolt and try not to test the strength of the tape protecting the surface.
Depending on the design of the toilet once you cut through you may be able to recover the other end of the bolt. Reaching into the cavity with needle-nosed pliers to grab the part and twist it out can be frustrating.
Search for other access points around the base of the tank or underneath the lip of the bowl. If none exist it won’t hurt to leave the cut off pieces in the toilet.
When you buy the new bolts and anchors it may come with new hinges as well. You can also choose to replace the seat entirely after that much work.
The new hardware will come with installation instructions that you will need to follow for the best results.
Usually, you will push the bolt through the hinge plate and then attach the anchor to the end of the bolt. Slide the bolt and anchor into the hole so that the hinge plate sits flush with the surface, then tighten the bolt.
Once the hinge plate is installed remove all the tape and wipe down all the surfaces. Replace any covers and re-install the seat and lid.
Slipping toilet seats are a surprise no one wants, so after the re-assembly is complete make sure to test the seat by gently moving it by hand.
If you are brave feel free to conduct a more thorough test and congratulate yourself on a job well done.