How to Stop Your Toilet Leaking into the Basement [Quickly]
Few things are more worrisome in the home than suddenly realizing your toilet is leaking. In cases where the leak is below the toilet or going into the basement, it’s possible the leak has been ongoing for some time.
Toilets are relatively standardized devices. There’s a consistency to which parts fail that helps you focus on how to troubleshoot. A leak into the basement means the issue is with the toilet base.
Most commonly, this indicates an issue with the wax seal of your toilet. However, it’s possible the issue is a cracked base or connector pipe. A bad seal is an easy fix if caught early enough, but anything more means you’ll likely need an expert to fix it.
The toilet is connected to the floor with two bolts, called closet bolts, on either side of the base towards the back. The porcelain connects to the drain hole, which leads to the sewage line. The wax gasket forms the seal between the porcelain and flange, which sits atop the opening and connects the toilet to the pipe, or connector tube.
Check the back of the toilet to make sure it isn’t cracked at the base. If the water only leaks when it flushes, then it’s likely a crack either in the porcelain or the connector pipe. This can help you pinpoint the source of the leak to troubleshoot more specifically.
If it’s the connector pipe, you’ll likely require professional assistance. It’s possibly cracked, or the glue sealing the pipe pieces together has worn off, both of which are larger fixes than you might want to handle by yourself.
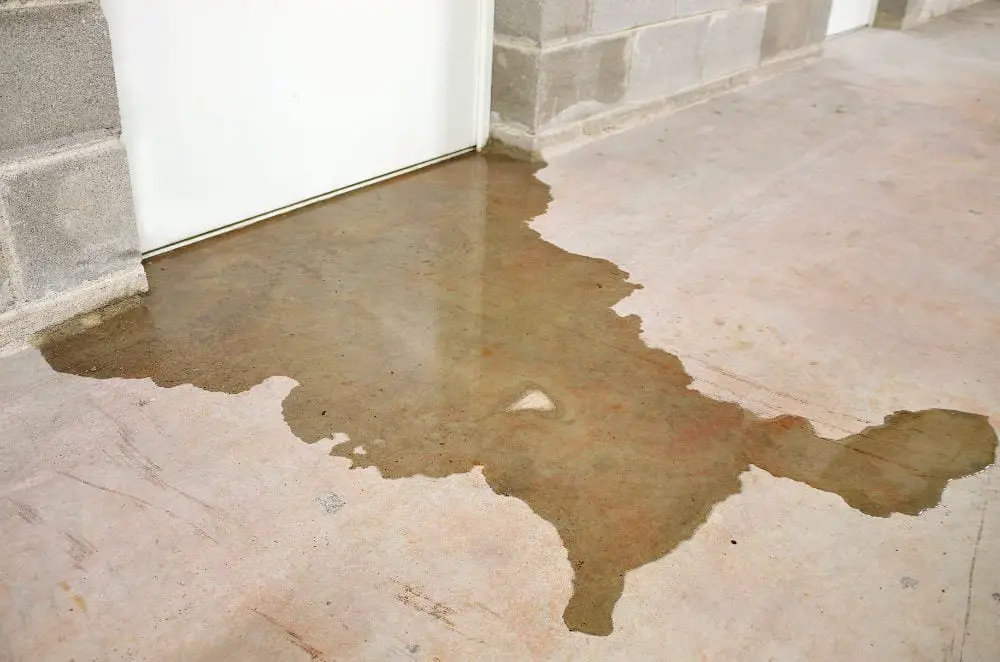
The seal can be compromised in multiple different ways, which is why it’s so often the issue. Usually, it’s indicated by water pooling around the base but often water leaks below the toilet into the room below.
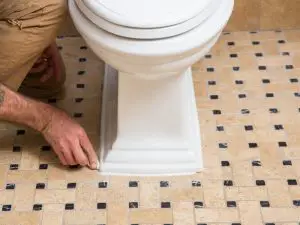
There’s a small possibility the problem is because the toilet isn’t bolted down well enough. Check the bolts on either side of the toilet base, and if either is loose, tighten them. Not too tight, or you’ll crack the porcelain. With some luck, this will fix it and save some trouble.
The seal is under the toilet, and the porcelain will need to be removed for access. This is a much easier process than it sounds.
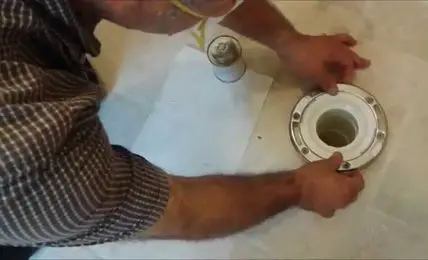
The flange is commonly the reason the seal fails. The flange is the pipe fitting that both mounts the toilet to the floor and connects the toilet drain to the pipe. The outside of the slot is the flange’s weakest point. They’re incredibly difficult to replace, and you’ll likely be fine installing a reinforcement ring.
Thoroughly clean the flange using mineral spirits then drill a clearance hole through the surrounding masonry. Put caulk around the perimeter of the flange, then place the reinforcement ring over top the flange and bolt it into place. Let the caulk set overnight before re-installing the toilet.
If the flange is too low, which is common flooring was later installed around the toilet, your seal is more easily compromised. A flange lower than ¼-inch into the floor is too low and an extender ring needs to be installed, similar to how the reinforcement ring was installed.
You’ll need to caulk the outside perimeter and set the extender ring. They’re sold in two varieties, one where you bolt it to the masonry or one that replaces the existing bolts.
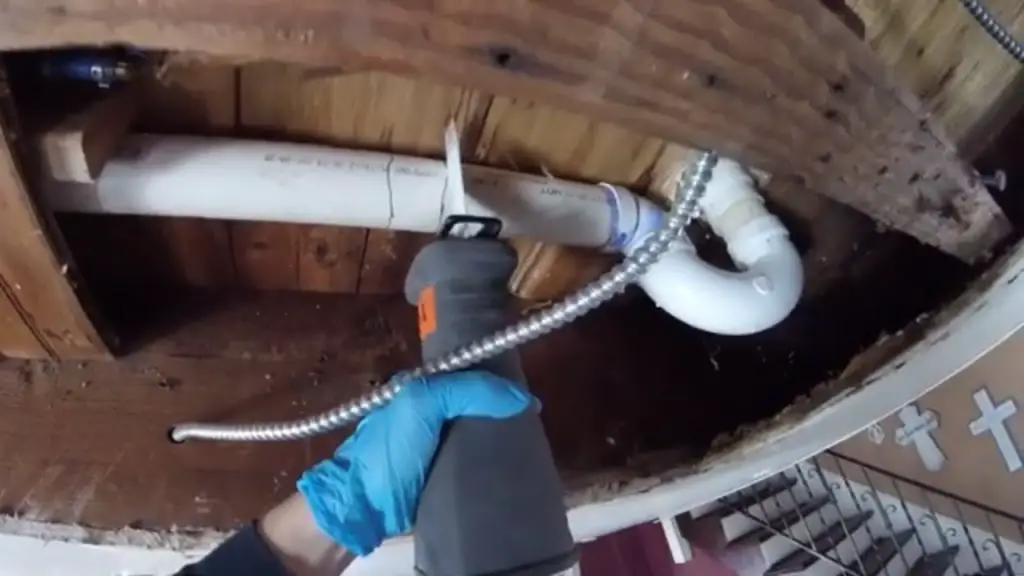
Check the floor around the toilet flange to make sure nothing has rotted. Using a screwdriver, probe the floor around the toilet to make sure it’s solid. Soft wood means it is rotting. If the soft wood extends more than a few inches from the flange, the floor will need to be replaced.
If there’s minor rot, installing a flange support should be enough to prevent further issue. Install it around the floor and bolt it into the flange. Drill into the surrounding masonry and bolt the support into the solid flooring outside the toilet. This should reinforce the floor well enough that the toilet will be safe to set again.
If the leak has been ongoing for several years, then the rot will have seeped into the floor and subfloor and will have to be replaced.
 A standard wax gasket is a solid ring of wax. These can be purchased at any hardware store. Brands like Fluidmaster make great seals that work for both floor-level and below floor-level flanges.
You could also purchase ones that have a wax layer surrounding a soft, internal foam layer. These are designed to conform to the flange and toilet for a better seal.
There are an increasing number of non-wax seals that are more durable and resilient, especially in hotter climates where max might melt if temperature isn’t controlled in the home. These also come in a variety of sizes, and they can stack for increased height because they don’t melt.
If the flange has been repaired, or it had no issue to begin with, you’re ready to set the toilet back into place. Make sure the old wax is cleaned and removed using mineral salts to form the best seal.
Place the new seal or wax ring over the flange and slide the closet bolts into place. Discard the rag plugging the sewer pipe. Line up the toilet with the closet bolts, making sure it’s properly in place and the back is parallel to the wall.
Use your body weight to seal the toilet to the wax ring by sitting on it. Make sure the toilet meets resistance as it sets, otherwise it isn’t sealing well enough.
Replace the washers and nuts on the closet bolts, alternating until both are secured. Place the plastic cap back over the bolts and reconnect the water supply line. Once the tank has filled, flush it to make sure the toilet is no longer leaking. If the leak persists, it likely means the issue is with the connector pipe and professional assistance may be required.
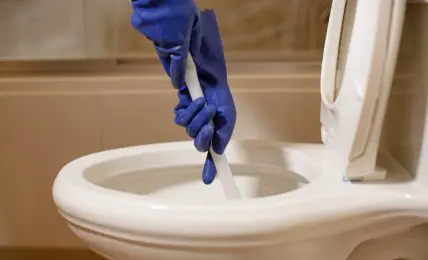
Once the leak is repaired, thoroughly clean the area with disinfectant, like a bathroom cleaner with bleach in it. Focus specifically on the floor, then rinse well and dry it to keep the bathroom clean before returning to regular use.
It’s especially important to be proactive in these instances, otherwise, you’re opening your basement to a serious risk that can bring expensive repairs. Left unchecked, these leaks can cause significant secondary damage to your flooring regardless of whether you have large amounts of water pooling below or around your toilet.